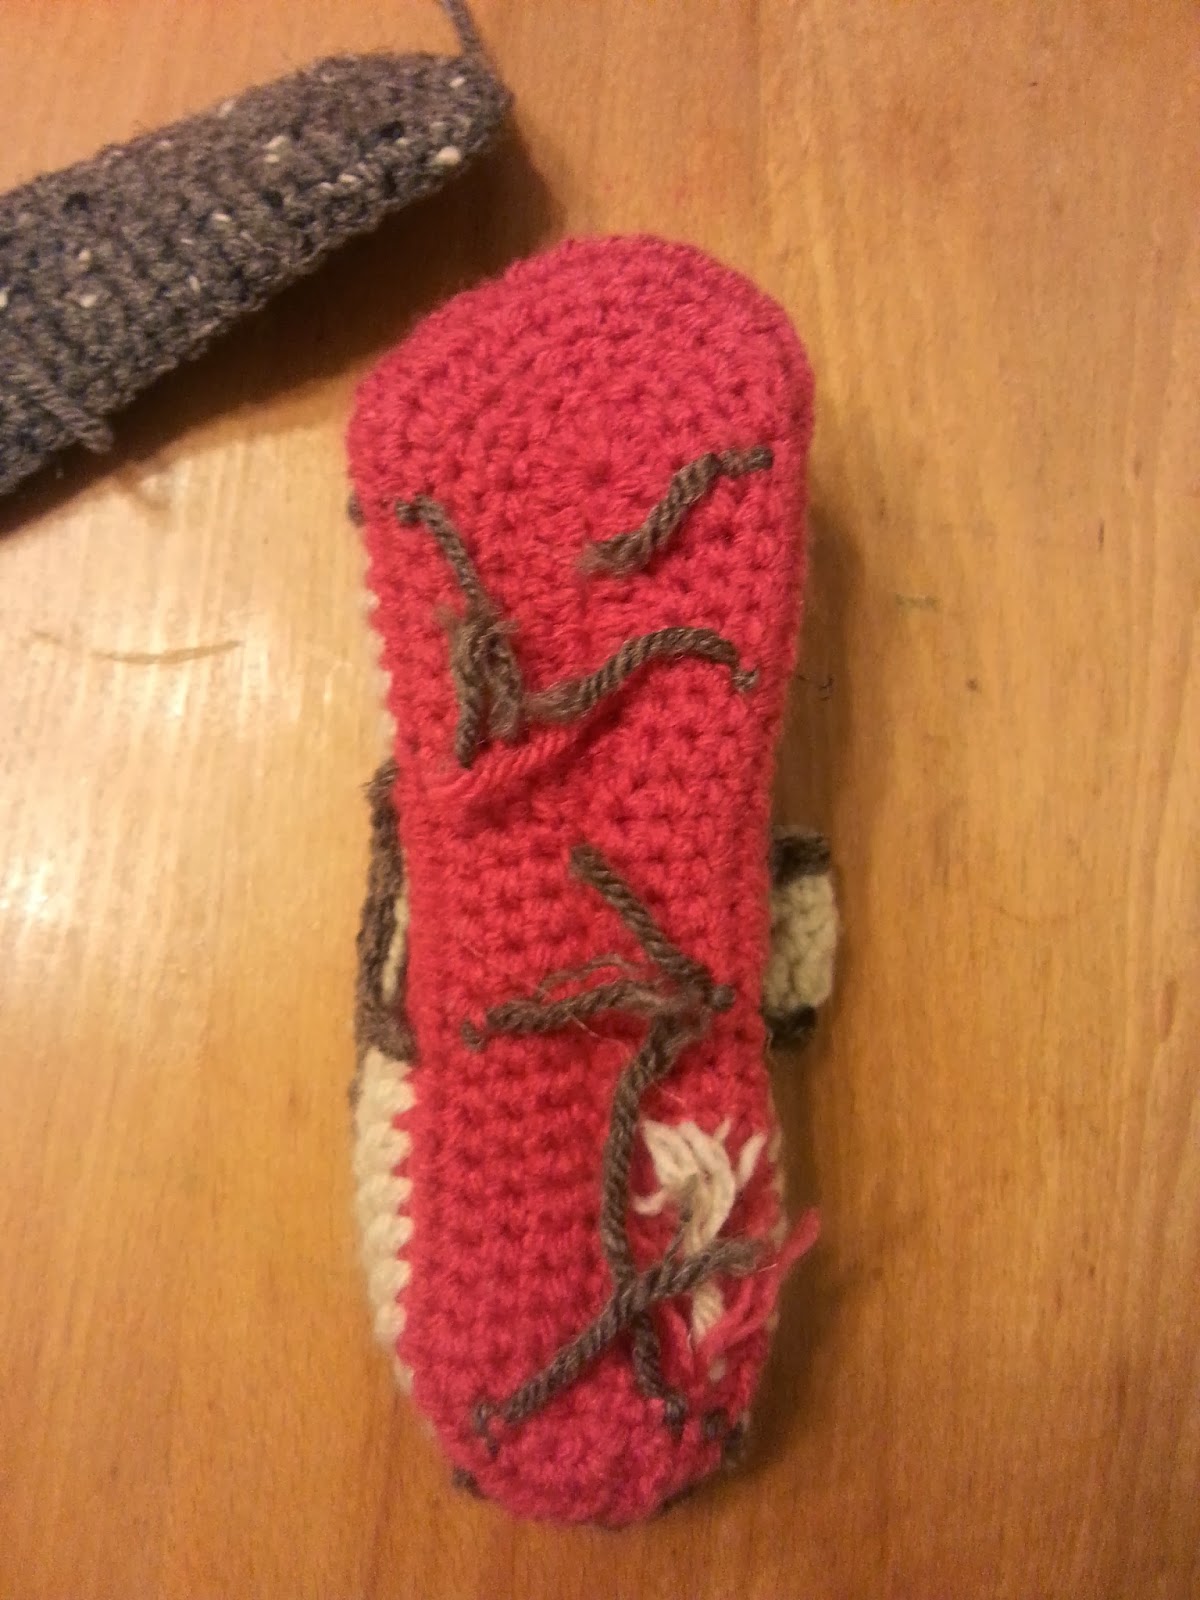
Last night we got another inch of snow. So why am I making sandals? I couldn't help it. I got this pattern in my head and had to get it out. I saw a baby version of this sandal somewhere, I can't remember where, but since I don't have babies I had to come up with a bigger version for my toddlers. I don't exactly like the color scheme on the bigger sandal, the pink and cream, but oh well.
It is a fairly easy pattern to do, just a lot of pieces to it, I would say it is an advanced beginner. If you have made or looked at my toddler moccasin pattern the sole portion is the same for this shoe. Hey, if it works why change it.
Materials:
Worsted weight yarn,
two or three colors
Hook G – 4.00mm
two buttons
needle and small
amount of thread to sew buttons
Abbreviations:
ch
– chain
st
– stitch
sl
st – slip stitch
sk
– skip
sc
– single crochet
hdc
– half double crochet
dc
– double crochet
sc2tog
– single crochet two stitches together
sc3tog
– single crochet three stitches together
dc2tog
– double crochet two stitches together
RS
– right side
WS
– wrong side
Notes:
This
pattern is written for two sizes. First size measures about 6 ¼
inches or a toddler size 9/10, the larger size measures about 7
inches or a toddler size 11/12. The larger size is designated in ()
in the sole and strap.
Sole
Make
2 for bottom sole and 2 for top sole, four total
Note:
it is best to make the soles from the same brand of yarn so they
match in size
Ch
19 (23)
R1:
2 sc in 2nd
ch from hook, sc 10 (12), hdc, dc 5 (7), 7 dc in last ch, working
opposite side of ch, dc 5 (7), hdc, sc 10 (12), 2 sc in last ch, sl
st to first sc – 43 (51) sts
R2:
ch 1, sc, 2 sc, sc 15 (19), *hdc, 2 hdc* repeat x 4, hdc, sc 15 (19),
2 sc, sc, sl st to first sc – 49 (57) sts
R3:
ch 1, 2 sc, sc, 2 sc, sc 17 (21), *hdc, 2 hdc* repeat x 2, 2 hdc, *2
hdc, hdc* repeat x 2, sc 17 (21), 2 sc, sc, 2 sc, sl st to first sc –
58 (66) sts
R4:
ch 2, hdc, 2 hdc, hdc 21 (25), *hdc, 2 hdc* repeat x 3, *2 hdc, hdc*
repeat x 3, hdc 21 (25), 2 hdc, hdc, sl st to first hdc, fasten off –
66 (74) sts
Body
Size 9/10
with RS of top sole
facing up, sl st to 2nd st from seam
R5
– ch 3 (counts as first dc), dc 9, ch 6, sk 6, dc 6, ch 10, sk 18,
dc 6, ch 6, sk 6, dc 10, ch 4, sk 4, sl st to 3rd
ch of ch 3
R6
– ch 1, sc in same st, sc 20, sc2tog, hdc 8 (across toe ch),
sc2tog, sc 25, sl st to first sc
R7
– ch 1, sc in same st, sc 19, sc2tog, hdc 8, sc2tog, sc 20, dc2tog
x 2, sl st to first sc
R8
– ch 1, sc in same st, sc 18, sc3tog, hdc 6, sc3tog, sc 19, hdc 2,
sl st to first sc, fasten off
Size
11/12
with
RS of top sole facing up, sl st to 3rd
st from seam
R5
– ch 3 (counts of first dc), dc 9, ch 7, sk 7, dc 8, ch 10, sk 18,
dc 8, ch 7, sk 7, dc 10, ch 6, sk 6, sl st to 3rd
ch of ch 3
R6
– ch 1, sc in same st, sc 23, sc2tog, hdc 8, sc2tog, sc 30, sl st
to first sc
R7
– ch 1, sc in same st, sc 22, sc2tog, hdc 8, sc2tog, sc 23, hdc,
dc2tog x 2, hdc, sl st to first sc
R8
– ch 1, sc in same st, sc 21, sc3tog, hdc 6, sc3tog, sc 23, hdc 2,
sc, sl st to first sc, fasten off
Strap
For
left shoe, join in 11th
st from seam, for right shoe, join in 33rd
(39th)
st from seam
Ch
16
R1
– in 3rd
ch from hook hdc, hdc 13, sl st in shoe in st next to join, sl st in
next st, turn
R2
– sk sl sts, hdc in first hdc, hdc 10, ch 2, sk 2, hdc, turn
Note:
for smaller button hole – ch 1, sk 1, hdc 2, turn
R3
– ch 2, hdc 14, sl st in next st on shoe, fasten off
Edging
Using
color of choice, sl st around all openings (toe, side vents, and
heel), as well as the top of body and strap.
Attaching
the bottom sole
Place
the WS of the bottom sole against the wrong side of the top sole,
tucking all loose ends between them.
Line
the soles up and, using the same color as the bottom sole, sl st the
soles together, sl st between the hdc posts, with the stitch against
the bottom sole.
The
sl st between the post as opposed to the top of the stitch will give
a better edge to the sandal
Finishing


cute!
ReplyDeleteThanks! Now just waiting on warm weather.
DeleteI found your pattern for the sandals, and love them, but have a question. On R2 of the sole, it says sc, 2 sc. Does that mean 1 sc in first stitch and 2 sc in next stitch? Thank you. Shirley
ReplyDeletethe way I read it, it says sc, 2sc, sc, which would mean 2 single crochets in the same stitich.
ReplyDeleteThank you! :)
ReplyDelete